

 Try for Free
 Try for Free
Share article:


How to Record YouTube Videos on Windows, Mac, iOS, and Android

2025-09-25 ・ Related to: CleverGet Recorder
328 Views
Summary:
How to record YouTube videos? Discover easy ways to record YouTube videos on Windows, Mac, iOS, and Android with step-by-step instructions.
Recording YouTube videos is useful for many users. For instance, students can capture educational tutorials for offline study, a content creator repurposing clips under fair use for commentary, or someone wanting to save inspiring videos for later viewing without internet access. The only problem is: How to record YouTube videos? If you have the same question, this blog is the right place to be. Just read on to find the right tools to achieve high-quality recordings effortlessly across devices.

MenuCLOSE
Part 1: How to Record YouTube Videos on Windows/Mac with CleverGet Recorder
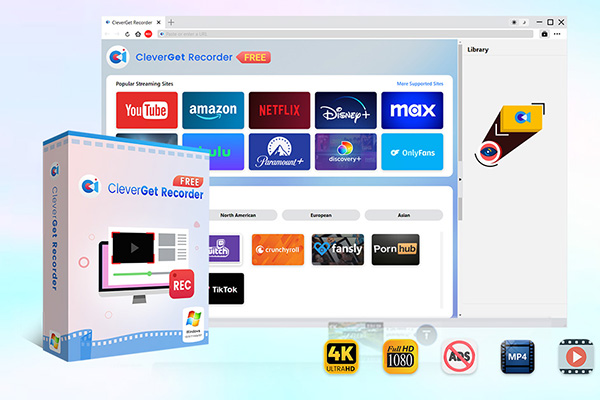
When it comes to the desktop, regardless of Windows or Mac, CleverGet Recorder is your go-to choice to record videos on YouTube. Supporting high resolution, the free stream recorder is designed specifically to capture high-quality video and audio from YouTube and other streaming platforms. Whether you want to record streaming videos on Windows 10 or on-demand videos on macOS, CleverGet Recorder is here to help.

-
Professional and free streaming video recorder to record online on-demand video and live streaming video without quality loss and cost. Schedule recording upon preset length and skip ads upon preset ad filter. Save recordings to MP4/MKV file for unlimited offline viewing.
Highlighted features:
- Free universal recorder for streaming video recording; record DRM-protected video files from most streaming services, including Amazon, Netflix, Disney+, Hulu, and YouTube.
- Capable of recording both on-demand videos (movies, TV series, shorts, etc.) and live streaming content (YouTube Live, Facebook Live, etc.).
- Support up to 4K resolution and 60 FPS video recording with original quality output.
- Record online videos in 1x, 2x, 3x, 4x, or even 5x recording speed; export videos in MP4/MKV formats for playback on various media players and devices.
- A beta ad-filter for ad-skipping; allow preset ad filter length for different streaming services.
- Recording scheduler to preset recording length; automatically stops and saves recordings upon preset recording length.
- Automatically catch and save metadata info (title, format, resolution, length, etc.) for convenient offline media management.
As one of the best screen recorders, CleverGet makes the recording process pretty straightforward. Here’s how to record a YouTube video with it.
Step 1: Download and Install
Download CleverGet from the official site, install it on your Mac or Windows PC, then launch the application.

Step 2: Configure Settings
Go to Settings, adjust output format, resolution, frame rate, audio quality, recording speed, and save location to ensure high-quality, smooth video capture.

Step 3: Play Target Video
Open the video within CleverGet’s built-in browser, locate the red REC icon near the Home icon, and bring up the recording toolbar for control.

Step 4: Fine-Tune Options
Before recording, select subtitles, audio tracks, recording speed, and ad filter options to optimize the video’s final quality and reduce interruptions during recording.

Step 5: Start Recording
Click the red REC button to begin recording. You can optionally adjust recording speed or ad filters anytime during the capture without stopping the video.

Step 6: Review Recordings
Open the Library sidebar to view all recorded files. You can play, manage, or delete recordings conveniently after finishing.

That’s it. The steps apply to all the websites. You can follow the guide to record OnlyFans videos, Amazon Prime TV shows, or any videos online easily!
Part 2: How to Record YouTube Videos on iOS
Now you know how to record YouTube videos on Windows and macOS. So can you record YouTube videos on mobiles, let’s say, an iOS device? The answer is positive. No third-party apps are needed for basic captures; iOS devices come with a built-in screen recording feature that allows you to do so. Here’s the step-by-step process:
Step 1: Go to Settings > Control Center and add Screen Recording to the Included Controls section. Launch the YouTube app and navigate to the video you want to record.
Step 2: Swipe down to open Control Center, tap the Screen Recording button, then close Control Center before the countdown ends.
Step 3: Play the YouTube video while recording. Once finished, tap on the Stop button. You can locate your recording in the Photos app for viewing or sharing.

That’s how to record a YouTube video on iOS. This method records both video and audio, which is ideal for personal archiving. You can also enable Do Not Disturb to avoid notifications disrupting the process.
Part 3: How to Record YouTube Videos on Android
Similarly, Android phones (Android 12 or later) are equipped with a built-in screen recorder. You can easily record YouTube videos with just a few taps. Here’s how.
Step 1: Add the Screen Recorder button to your Quick Settings panel. Open the YouTube app and navigate to the video you want to record.
Step 2: Swipe down from the top of your screen to access Quick Settings, tap the Screen Recorder icon, choose whether to record device audio or microphone, and wait for the countdown to finish.
Step 3: Play the YouTube video while the screen recorder is active. Make sure the video plays smoothly without interruptions for the best recording quality.
Step 4: Once finished, tap Stop Recording. Your video will be saved in the Photos or Gallery app, ready for viewing, sharing, or editing.

Part 4: Conclusion
How to record YouTube videos? Just follow the steps above, and you can easily capture YouTube videos across Windows, Mac, iOS, and Android. For desktop users who want to record YouTube videos effortlessly with premium video quality, CleverGet Recorder provides professional-grade service at no cost. Just remember to use it responsibly, that is, keep your recordings for personal viewing or fair use to avoid legal issues.
CleverGet Recorder

 Try for Free
 Try for Free
![]() Record on-demand videos for free;
Record on-demand videos for free;
![]() Record live streams for free;
Record live streams for free;
![]() Record DRM-protected streaming content;
Record DRM-protected streaming content;
![]() Support up to 4K resolution;
Support up to 4K resolution;
![]() Record videos as MP4/MKV files;
Record videos as MP4/MKV files;
![]() Allow scheduled recording;
Allow scheduled recording;
![]() Skip ads during recording.
Skip ads during recording.