Last updated on 2025-11-28, by
Record Gameplay Like a Pro: Tools, Settings, and Secrets You Should Know
Summary:
This article introduces various game recording tools for different operating systems. It also recommends recording parameter settings, and tricks for ensuring smooth recording.
MenuCLOSE
Under a new era of digital, games are not only for entertainment. They are also an important medium for social interaction. Whether it’s to record gameplay, create tutorial videos, or produce professional review content, a clear and smooth game video is the key to success. A high-quality recording can capture details of the player’s operation and demonstrate his skills. This guide will help you easily capture game video comparable to professional standards. For users who wonder how to record gameplay on PC, this article will offer inspiration.
Part 1: Essential Tools for Recording Gameplay
Recording exciting moments in games and sharing them online has become a trend. However, to achieve high-quality recording, choosing the right tools is the first step. Whether you are an amateur player or a professional creator, you will be able to find the best way to record game on PC in this part.
1. Windows Software Options
1) Leawo Free Screen Recorder
Leawo Free Screen Recorder is among the high-quality free screen recorders for Windows that supports capturing high-definition game scenes. Users can select recording areas with simultaneous recording of game sounds and microphone input. Its simple interface is suitable for beginners to get started.

-
- Free online recorder to record window, browser tab or entire screen online.
- Free screen recorder to record screen in full-screen or custom area at up to 4K to MP4.
- Free webcam recorder to record webcam video.
- Free audio recorder to record audio from microphone or computer to MP3.
- Free screenshot snapper to snap screenshot to JPG.
2) Graphic cards
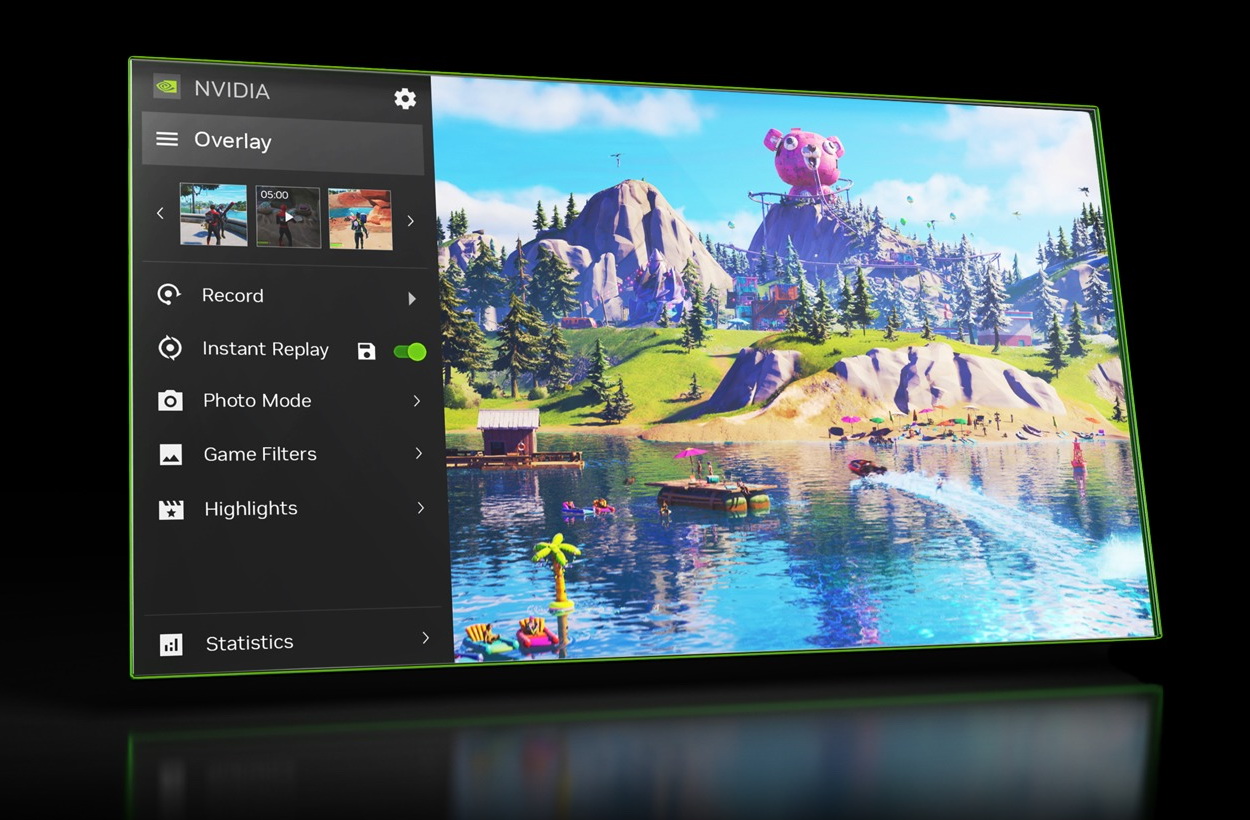
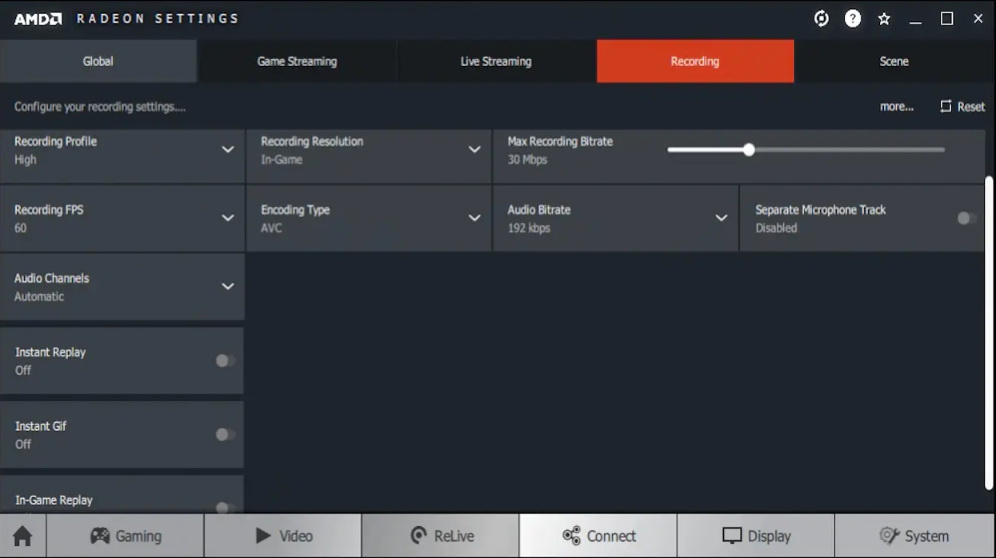
NVIDIA ShadowPlay and AMD Radeon ReLive are the built-in recording features of NVIDIA and AMD graphics cards. Both utilize hardware-level encoding to achieve high-quality recording with low performance consumption. They offer an “instant replay” feature, which can automatically save game clips. Both of them are of high efficiency and provide users with different graphic cards an easy and convenient way to record gameplay.
2. Mac Recording Options
1) QuickTime Player
QuickTime Player is the built-in screen recorder in macOS system. Users can capture game scenes by clicking “New Screen Recording”. Users can also choose to record the entire screen or a specific area. For Mac users who prefer a simple and quick recording process, QuickTime Player is the most convenient solution.
2) ScreenFlow
ScreenFlow not only can capture game scenes with high frame rate and resolution, but also integrates a video editing feature, including multi-track timeline, animation annotations, video filters, and audio enhancement tools. It can record the screen, camera, microphone, and system audio while providing a one-stop editing feature for users to create game guides and review videos.
3. Linux Recording Options
OBS Studio
With OBS Studio, Linux users can record high-quality gameplay as well. Its encoders can achieve high-quality video recording with low performance consumption. This will ensure a smooth game process without interruption. Whether it’s local recording or configurations requiring well-tuned bit rate, resolution, and format, OBS can handle it perfectly.
4. Console Recording Options
1) PlayStation
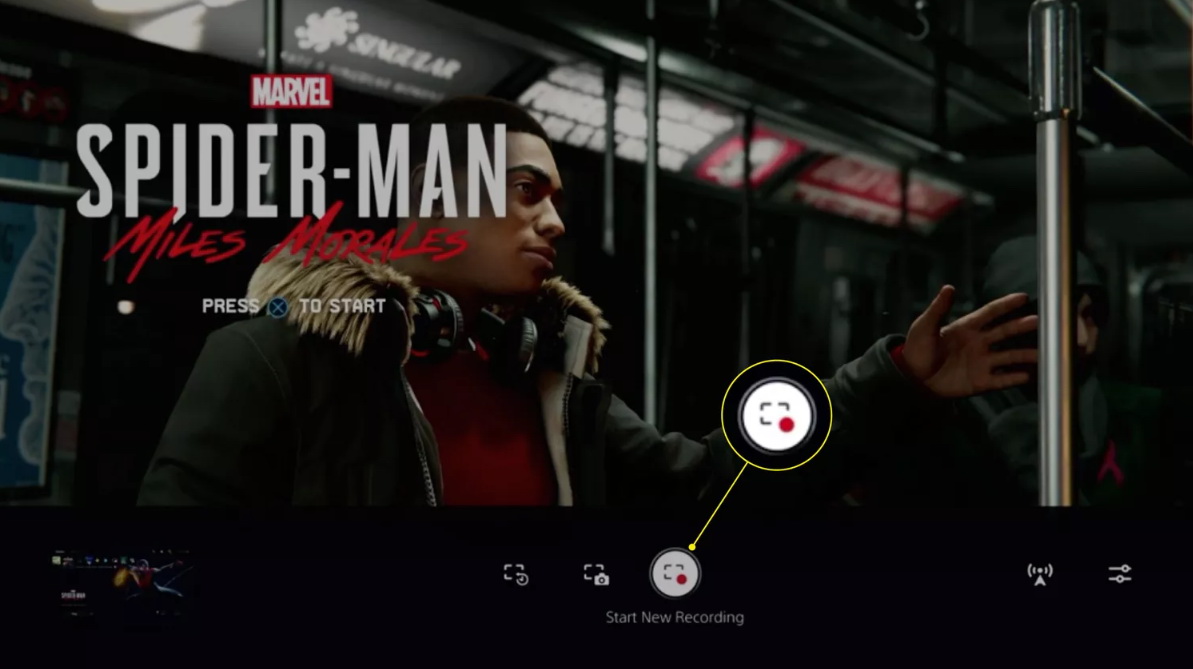
The PlayStation console allows players to save memorable moments without the need for additional recording software. By pressing the “Create” button on the controller, users can quickly capture game screenshots and start video recording. The system supports recording of up to one hour of 4K HDR game videos. All recorded content can be managed in the media gallery.
2) Xbox
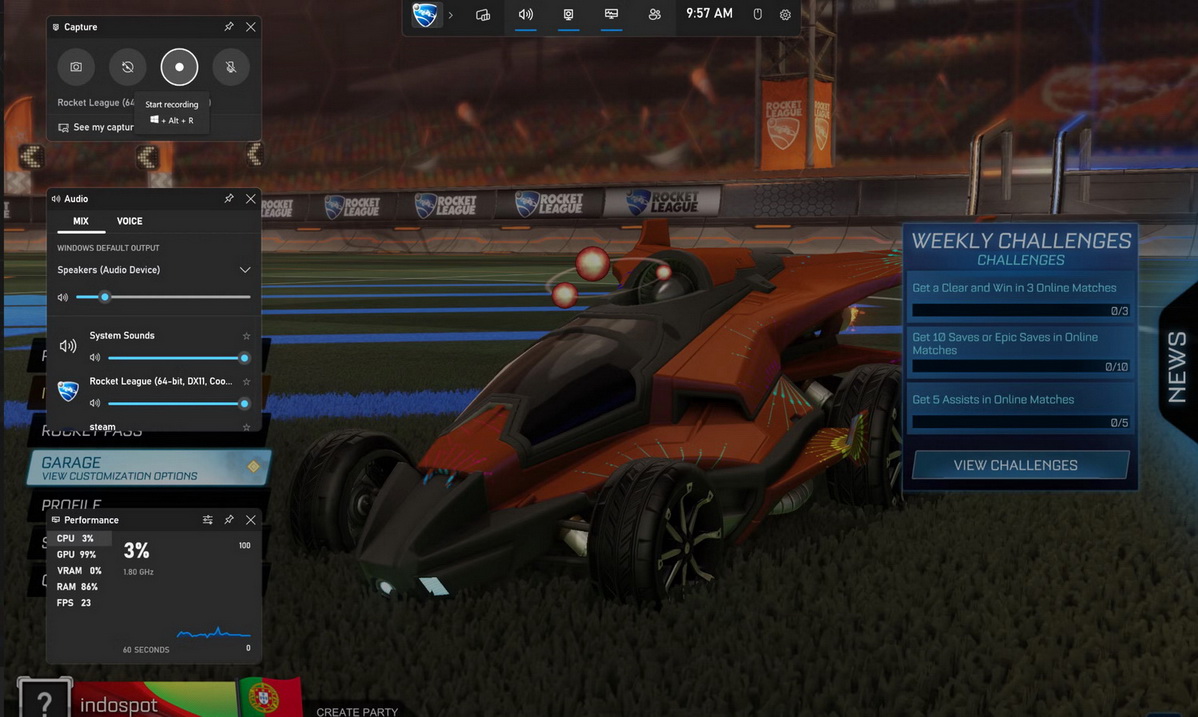
The Xbox console also integrates recording feature. Players can start recording by clicking the “X” button on the controller. For Windows players, they can use the Xbox Game Bar, which is displayed on the Xbox console to record gameplay on PC. The Xbox Game Bar also supports taking screenshots and managing clips.
3) Nintendo Switch
On Nintendo Switch, players can long-press the “Capture” button on the controller to save a maximum of 30-second video clips of the game, but this is only supported by some games.
5. Hardware Capture Cards
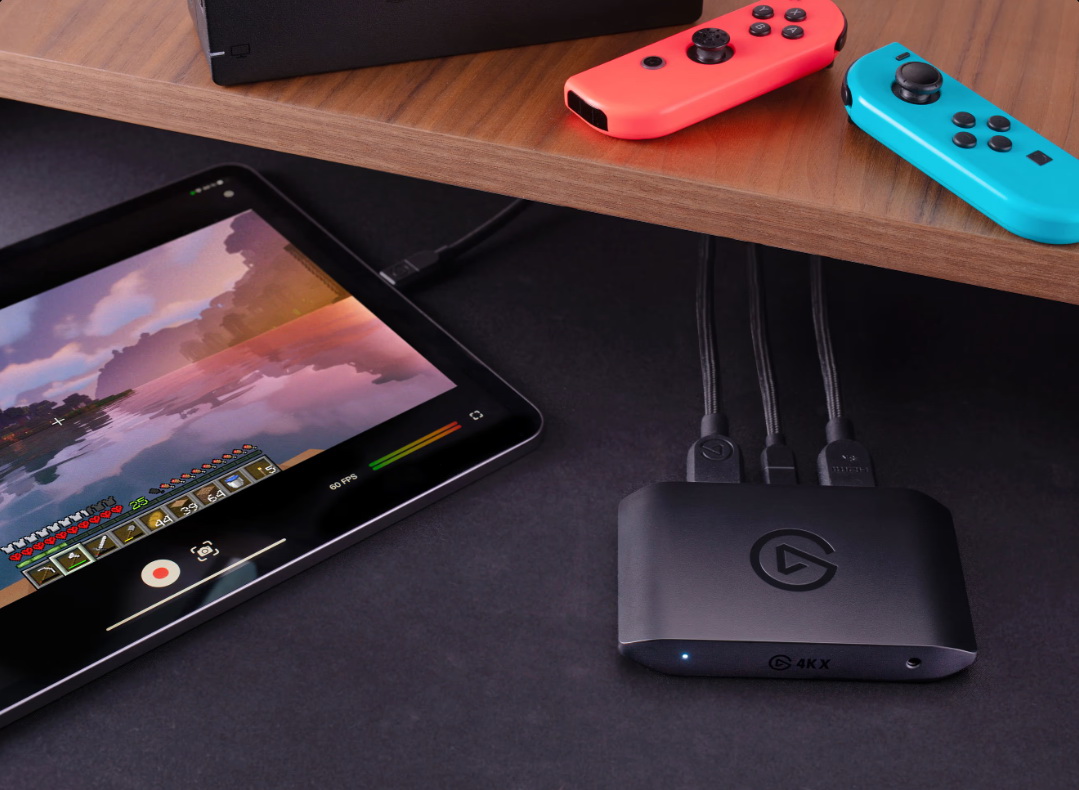
For players who wish to record or stream their gameplay to a computer or an external hard drive, hardware recording devices such as Elgato or Atomos can be used.
No matter what operating system you have, the information on the tools mentioned above can help you figure out the best way to record gameplay on PC. You can choose them in accordance with your own needs.
Part 2: Recommended Settings for High-Quality Gameplay Recording
To obtain clear and smooth game videos with high quality, it is important to set the right recording parameters. The following content will help you record gameplay with high quality.
1. Resolution and fps
Resolution: It is recommended to set the recording resolution to be the same as the game’s resolution. Common choices include 1080p (1920×1080), which is suitable for most platforms and audiences.
Frame rate: 60 FPS is a standard setting for game recording, which can keep the smoothness while ensuring the performance of the game. If the hardware performance is limited or the content does not require high smoothness, you can set it to 30 FPS to solve fps drops.
2. Bitrate
The bit rate determines the size of the video file and details of the recording. Setting it too low will result in blurry images and color blocks, while too high will take up a large amount of storage space. The recommended settings are as follows:
- 1080p, 60 FPS: 15,000 – 25,000 kbps
- 1440p (2K), 60 FPS: 25,000 – 40,000 kbps
- 2160p (4K), 60 FPS: 45,000 – 60,000 kbps or higher
3. Encoding options
The encoder is the core factor that affects the recording performance and quality. The main options include:
Hardware encoding: NVIDIA graphics card users should choose NVENC, while AMD graphics card users should choose AMD VCE/VCN. This is the preferred solution for recording during gameplay, which can ensure a smooth gaming experience.
Software encoding: Encoding is performed by the CPU. Take x264 as an example, at the same bit rate, x264 can provide better picture quality than hardware encoding, but it requires higher CPU performance, which may lead to a decrease in game frame rate.
4. Audio settings
The recommended settings are as follows:
- Audio bit rate: For voice recording, it is recommended to set it at 128 – 192 kbps, which can ensure clearness of the human voice. If you need to record high-quality game music or sound effects, you can increase it to 320 kbps.
- Sampling rate: 48 kHz is the standard sampling rate for video production, which can provide high-quality audio recording.
- Audio source separation: For users who wish to edit the recorded gameplay, it is recommended to record the system sounds and microphone voices onto different audio tracks.
Part 3: Advanced Tips for Smooth Gameplay Recording
After mastering the basic tools and settings, you can further improve the recording process to boost both the gaming experience and video quality to their highest levels.
1. Reduce CPU/GPU load
The recording process itself will consume system resources, which may affect the game performance and cause frame drops. To minimize the impact, please follow the following steps:
- Use in-game settings: Users can reduce some graphics options that are not necessary, such as shadows, anti-aliasing, to save more performance space for recording.
- Close background applications: Before recording, close any unnecessary background programs and browser tabs to free up CPU and memory resources.
2. Use right storage: SSD vs HDD
The read and write speed of the storage device affects the stability of the recording. Traditional HDDs have relatively slow reading and writing speeds and are only suitable for low-bitrate recording. SSD can handle the writing of high-bitrate and high-frame-rate videos, preventing recording interruptions or screen lag caused by storage speed bottlenecks. It’s suitable for high-load PC and console games.
3. File format: MP4 vs MKV
Choosing the appropriate output format can achieve the best balance between recording security and post-production compatibility.
- MKV: If the recording process experiences a program crash, MKV can ensure the recorded video clips are successfully preserved.
- MP4: This is the most widely used video format, compatible with almost all players and video editing platforms, and the file size is relatively small.
Part 4: Conclusion
After reading this article, you will find that recording high-quality game footage is no longer a hard thing to manage. Whether you are a beginner or a professional content creator, you can choose tools and configurations according to your own needs. In this way, you can save wonderful moments in the game. We hope this article can help you embark on the journey of game recording and create your own wonderful content.


 Try for Free
 Try for Free