Brief Introduction
CleverGet Recorder is a free stream recorder that could record online video for free, and save recordings to MP4/MKV files at up to 4K resolution and 60fps. This free streaming video recorder could record streaming video, capture live stream, and even capture DRM streaming video. Through recording online video, you could freely watch online videos for offline watching for totally free, with no watermark and other limitations.
Main features of CleverGet Recorder:
- Record online videos in original quality, or at up to 4K/2K/1080/720P resolution and 60fps.
- Record online videos at 1X recording speed without any limitation.
- Record video at 2X, 3X, 4X or 5X recording speed to experience the high-speed recording of Pro version of CleverGet Recorder.
- Record online videos to MP4/MKV files for unlimited playback on various media players and devices.
- Filter ad at will via the internal ad filter to record online videos with ads skipped from most streaming platforms.
- Record video with original or desired quality of both video and audio.
- Capture DRM streaming video from various streaming sites like Amazon, Netflix, Disney+, Hulu, Max, and others.
- Record online videos with selected audio track.
- Stop and save recording anytime, and then restart recording at will.
- Built-in browser to play, watch and record online videos directly.
Differences between CleverGet Recorder and CleverGet Video Recorder
CleverGet offers 2 different recording tools: CleverGet Recorder and CleverGet Video Recorder. CleverGet Recorder is a totally free streaming video recorder, while CleverGet Video Recorder is a shareware streaming video recorder that offers free trial version. CleverGet Recorder is a standalone software program, while CleverGet Video Recorder is a module built in CleverGet. Besides, these 2 streaming video recorder tools also differ from each other in the recording speed and corresponding recording length. Check the below table to view the detailed differences between CleverGet Recorder and CleverGet Video Recorder.
| Features |
CleverGet Recorder |
CleverGet Video Recorder |
| Cost |
Free |
$59.95 per year, or $99.95 for lifetime use |
| Record online video at 1X recording speed |
No limit in recording length |
Free trial version: Up to 3-minute recording
Registered version: No limit in recording length
Expired version: Up to 3-minute recording |
| Record online video at 2X, 3X, 4X or 5X recording speed |
Recording length is limited to 3 minutes |
| Installation |
Standalone installation |
Bundled into CleverGet installation |
How to Record Online Videos for Free with CleverGet Recorder?
CleverGet Recorder helps you record online videos to MP4/MKV files in original or 4K/2K/1080P/720P quality from 1000+ video sharing sites for unlimited offline watching. The below steps show how to record online videos with CleverGet Recorder.
Step 1: Download and Install CleverGet Recorder
Firstly, free download and install CleverGet Recorder on your computer. Make sure your computer meets the system requirements of CleverGet Recorder.
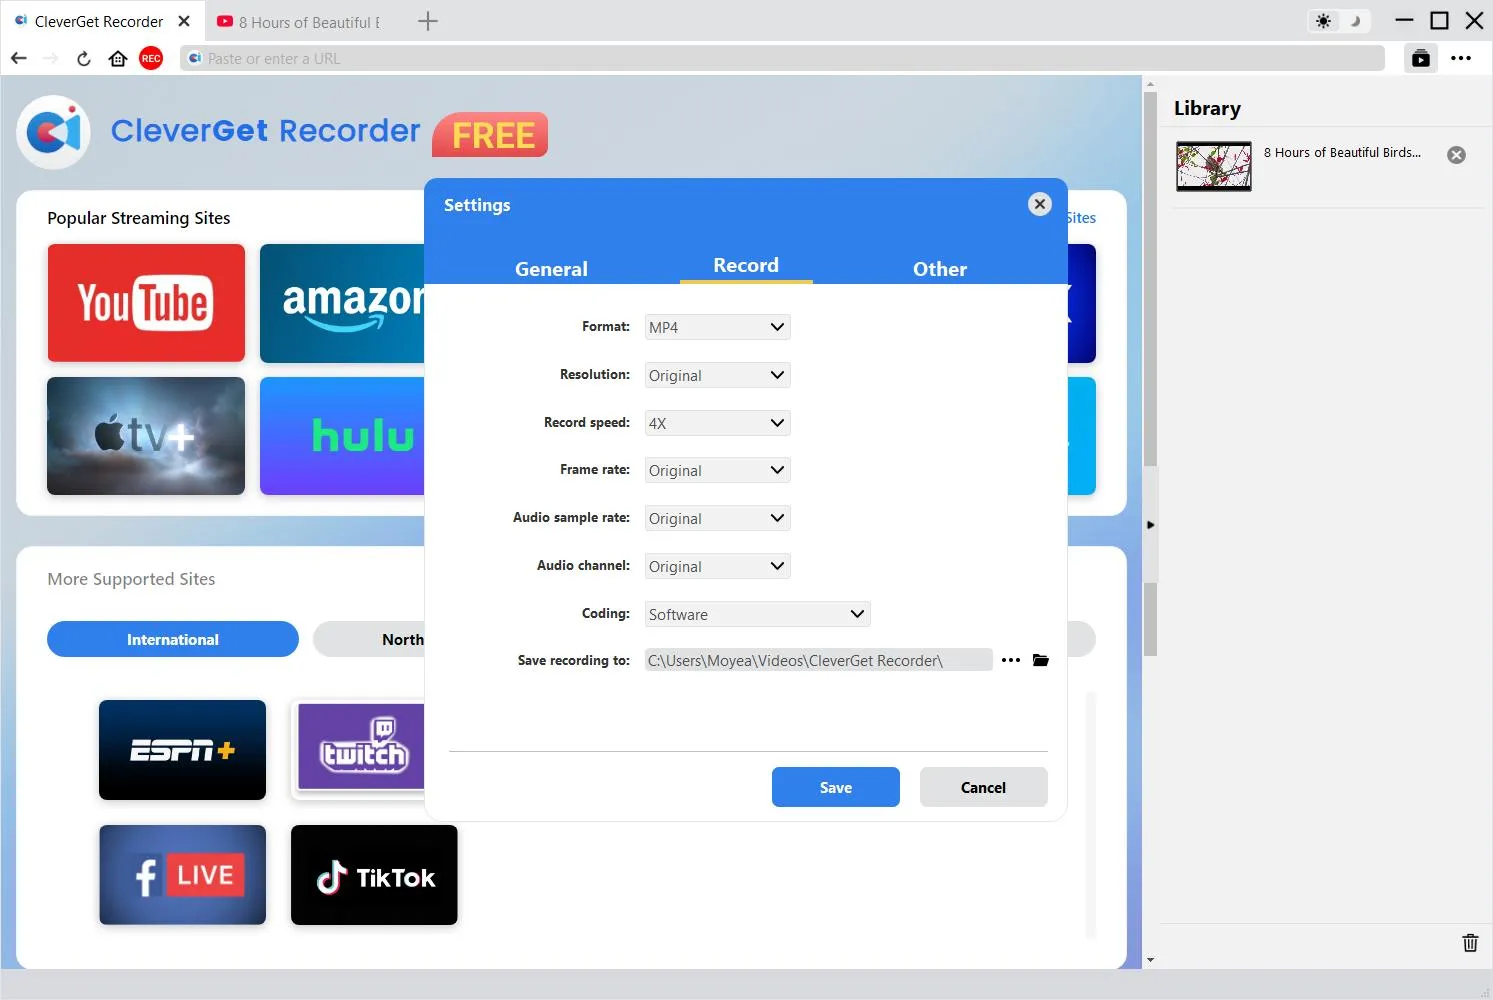
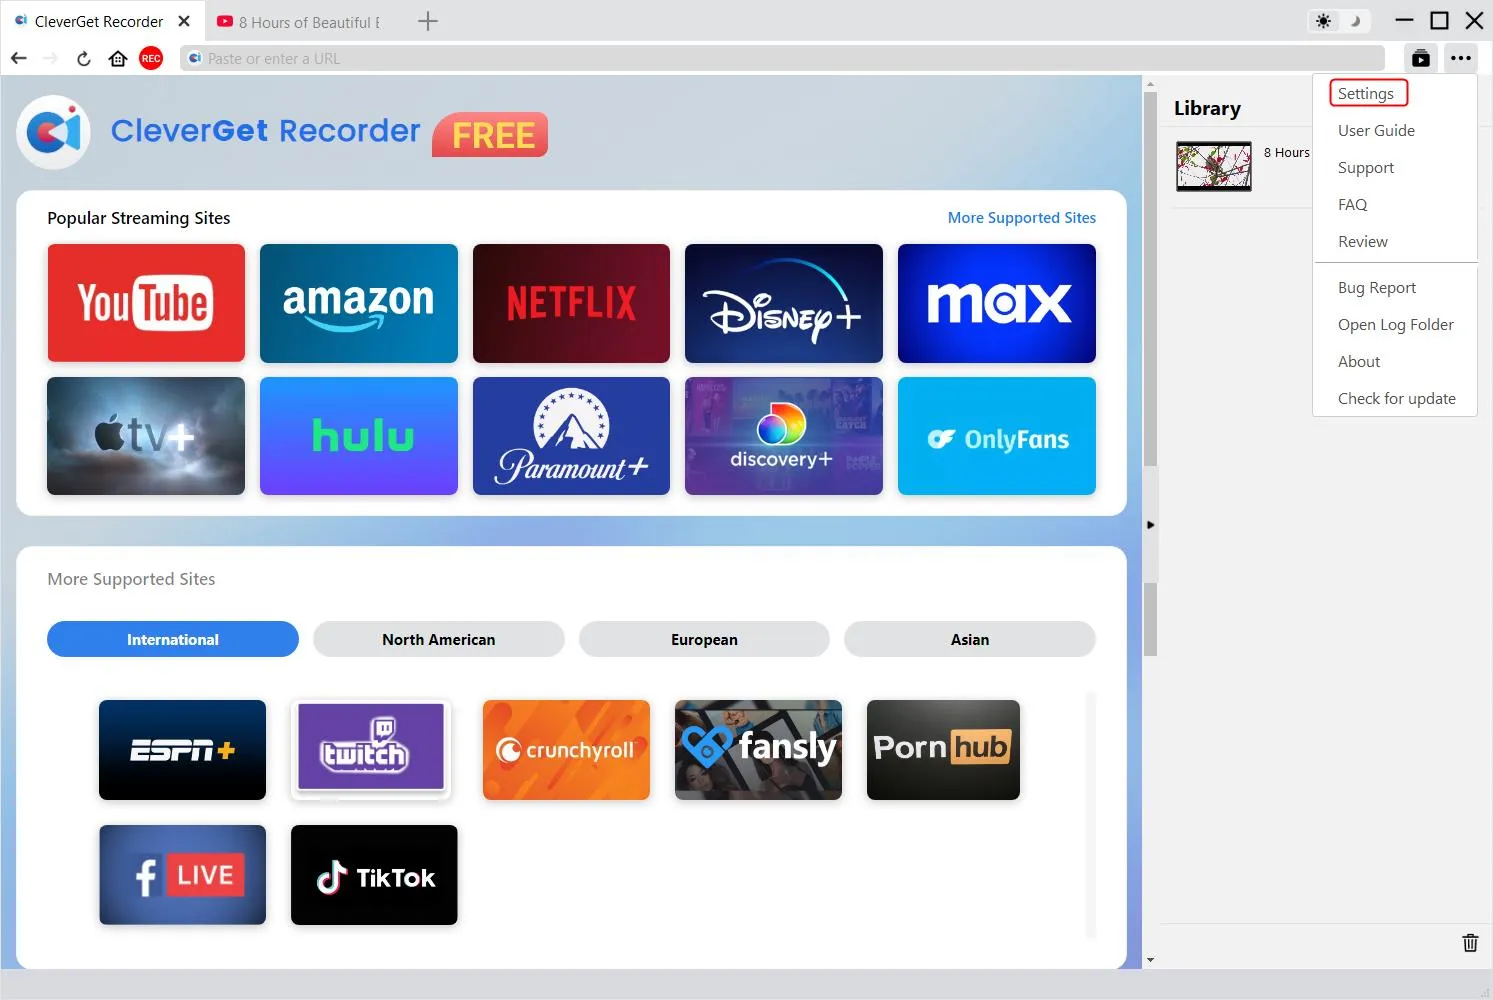
Step 2: Specify Recording Preferences
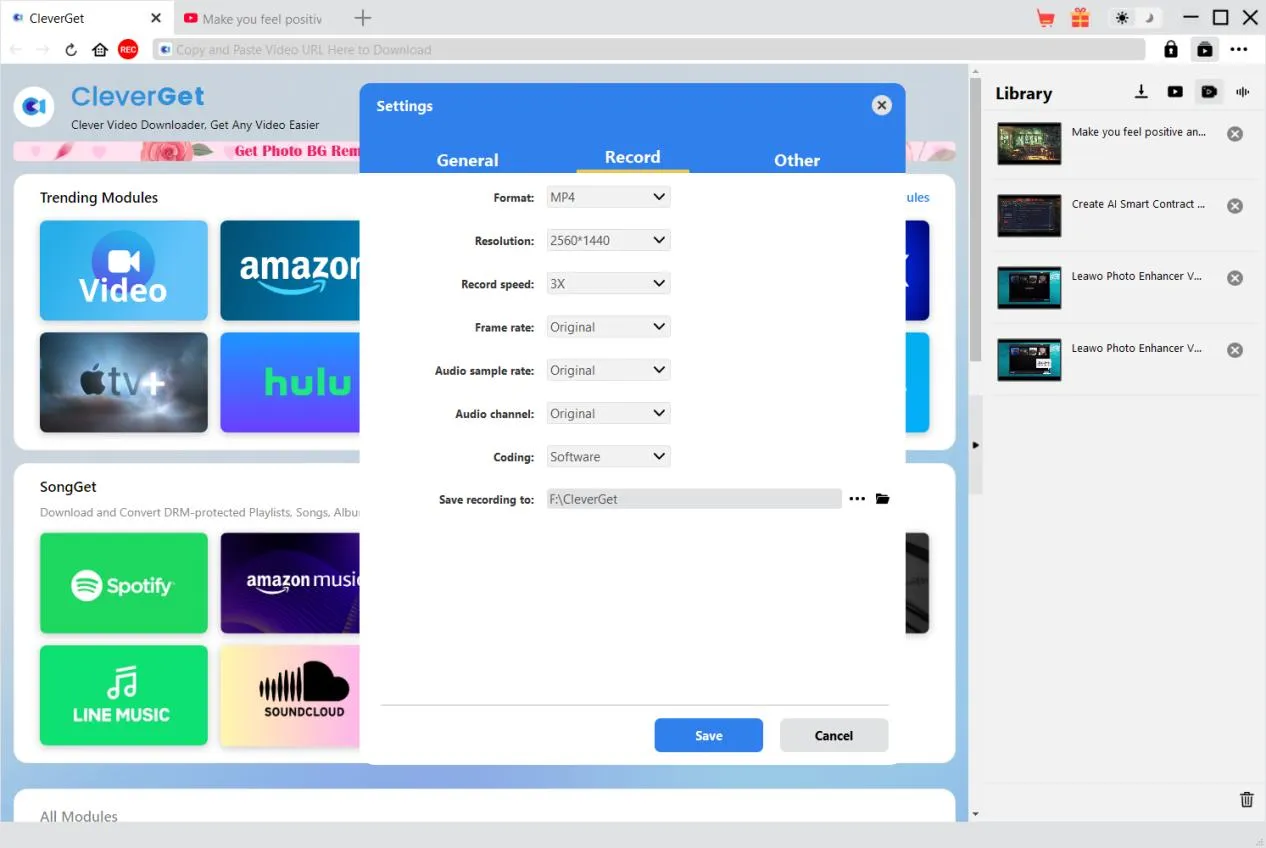
Kick off CleverGet Recorder on your computer. Click the More option (in 3-dot icon  ) at the top-right corner and then choose "Settings" option on the drop-down menu. On the newly pop-up Settings panel, open the "Record" tab to complete recording settings, including: "Format", "Resolution", "Record speed", "Frame rate", "Audio sample rate", "Audio channel", "Coding", and "Save recording to" options. Click "Save" button to save all settings and quit the Settings panel.
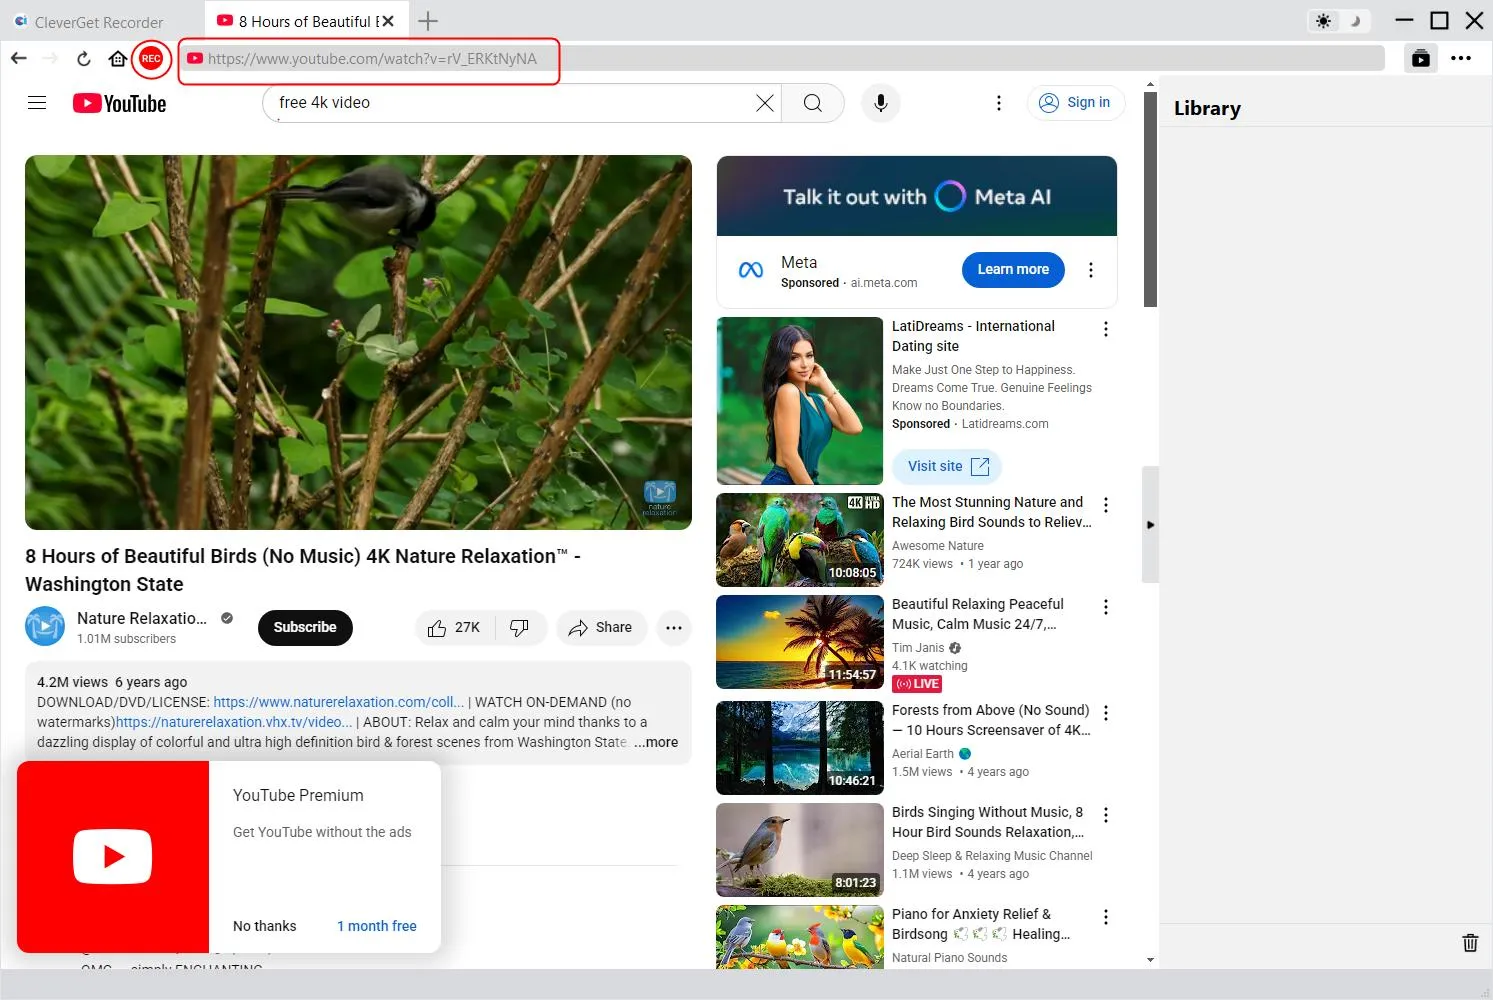
Step 3: Play Back Target Video
Play back the target video within CleverGet Recorder. Make sure the playback quality is not set as Auto, and you have chosen the right audio track for recording. You could see a red REC icon  right next to the Home icon on the address bar, by clicking which you could call out the "Recording" toolbar at the bottom.
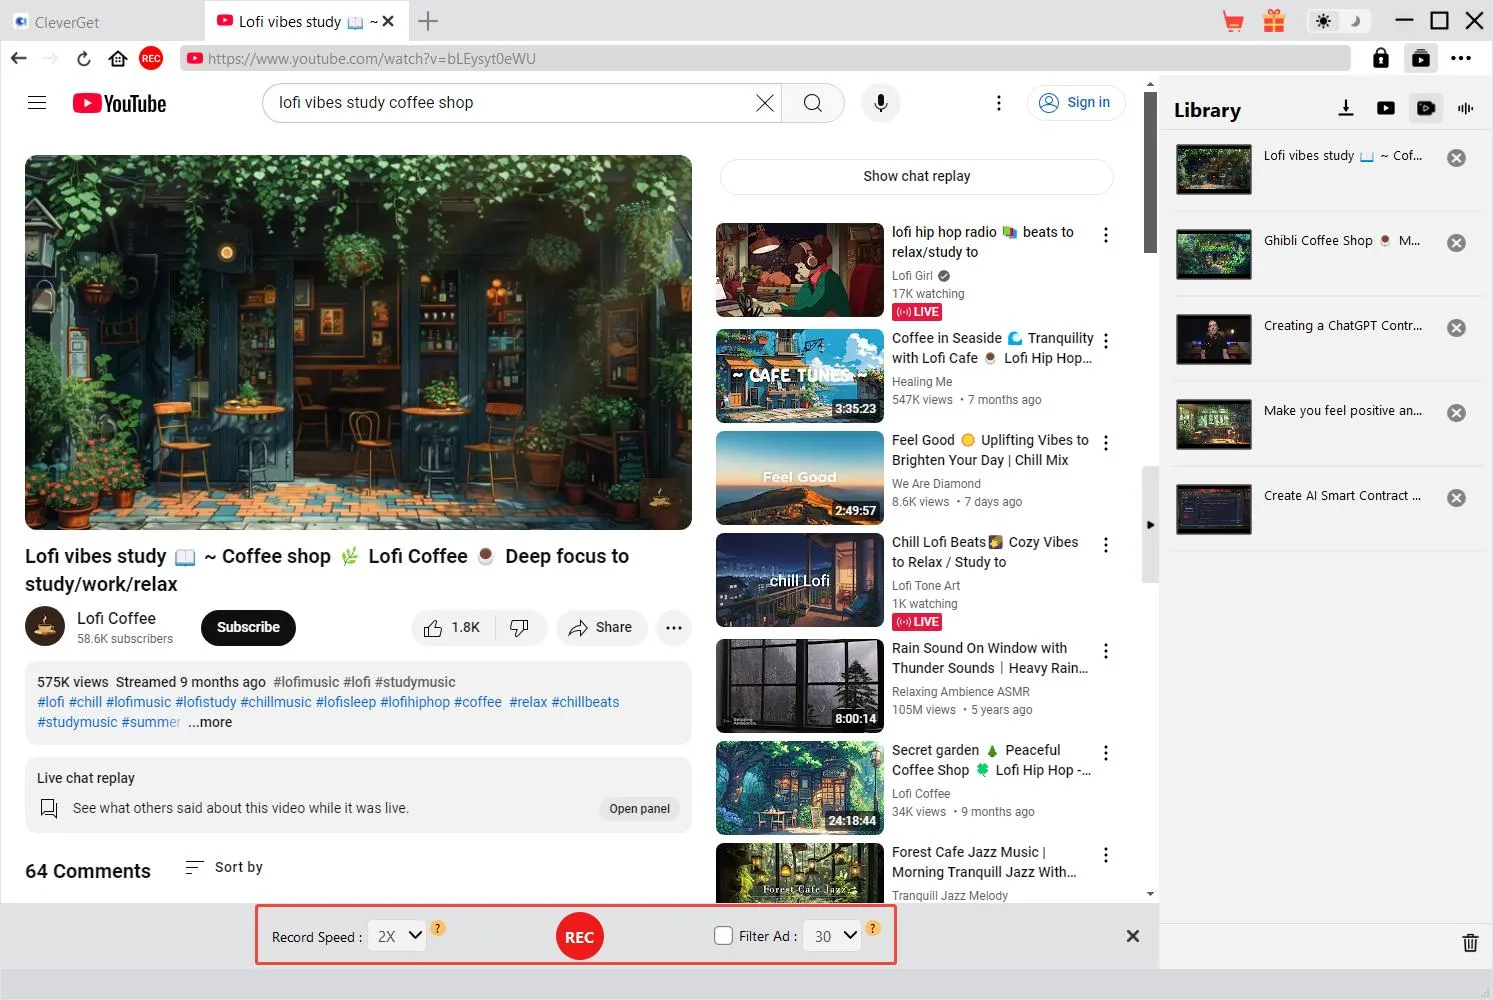
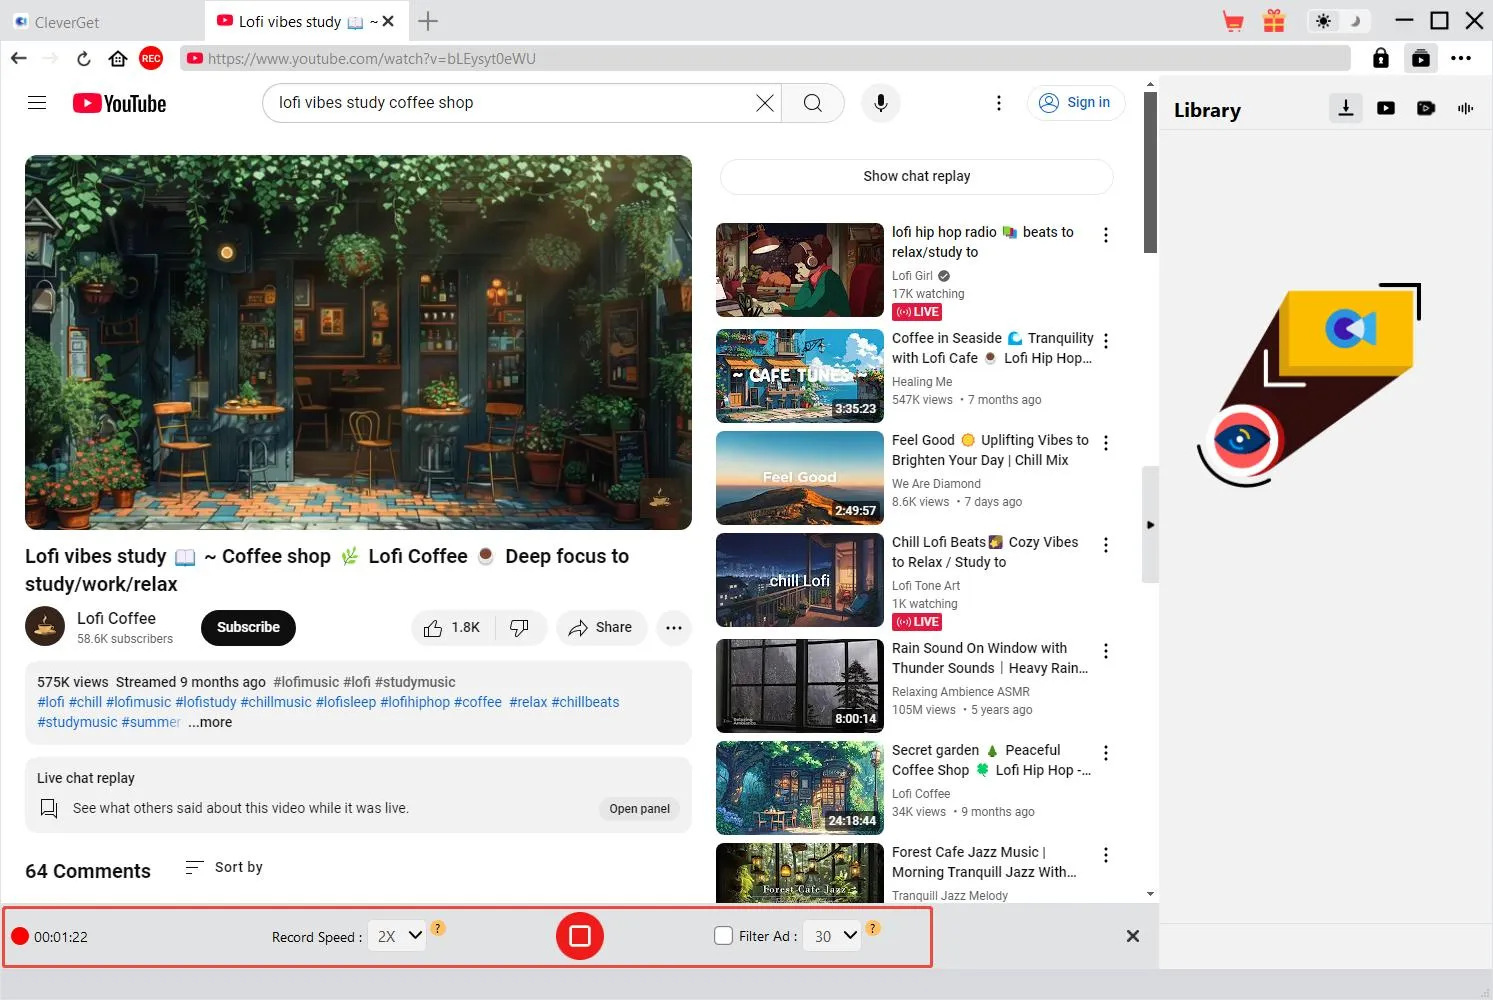
Step 4: Adjust Recording Settings on Toolbar
There will pop up a toolbar at the bottom to let you adjust recording speed and ad filter.
Note:
- You could change "Recording Speed" anytime during recording. Recording Speed change will take effect instantly.
- You could check/uncheck "Filter Ad" option and change ad filter length anytime. Change will take effect since the next ad playback.
- The higher recording speed you set, the bigger odd target video playback will become choppy. Choppy video playback doesn’t affect the final recording.
- For stable recording quality, please don’t set the video playback quality as "Auto". Set a specific video playback quality if available.
- The "Filter Ad" feature is a beta feature, which might not apply to certain streaming services. If it is not checked, CleverGet will record target video with ads.
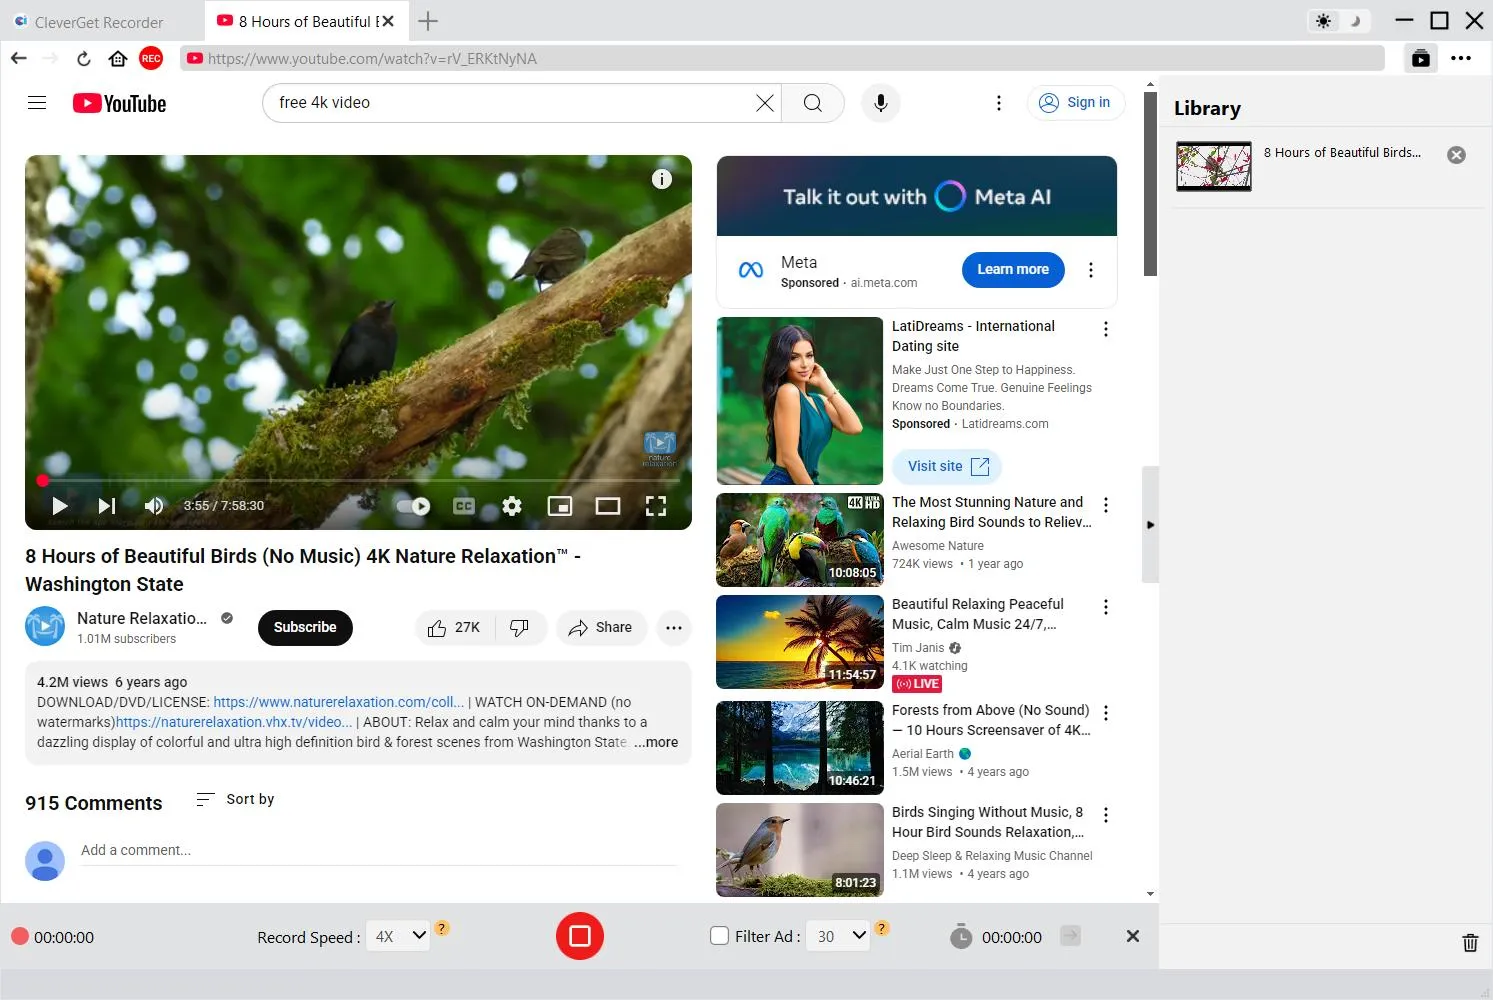
Step 5: Start Recording
After setting these, you could drag the playback bar to the point where you want to start recording and then click the red REC button to start recording online video.
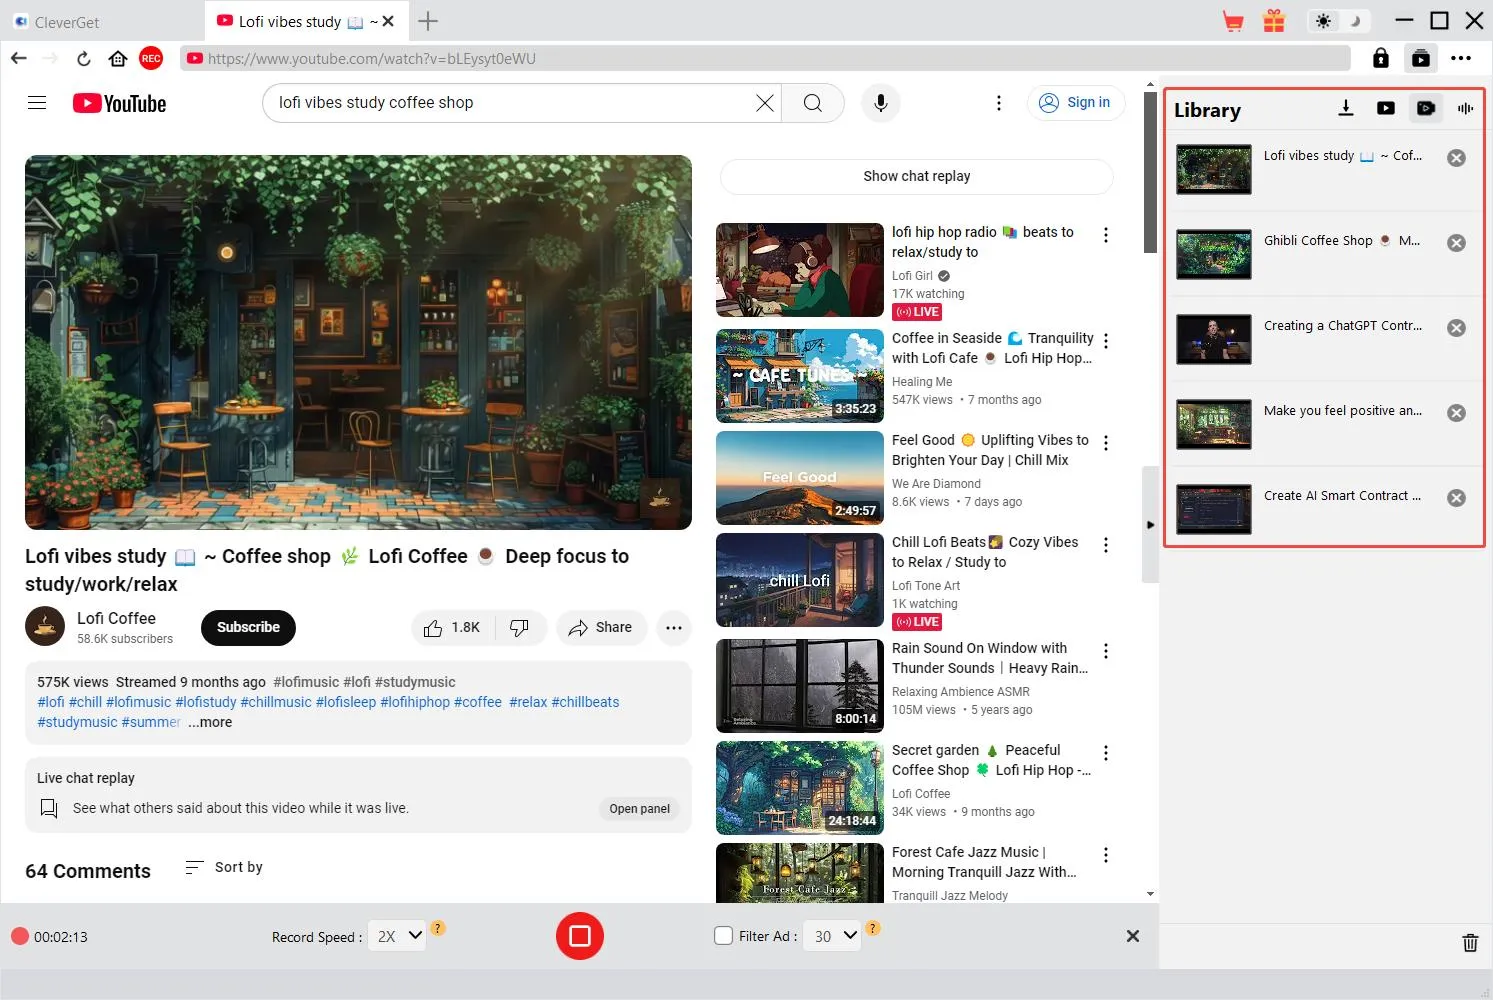
Step 6: Check Recordings
You could view entire recording process on the recording toolbar, stop recording and then restart recording any time you like. CleverGet Recorder will generate a recording file every time you stop the recording. All recordings are available on the right sidebar, which could be opened/hidden by clicking the "Library" icon  at the top-right corner. Here, you could click "Play" button on the thumbnail of recording file to play it back with your default media player, open its file folder, play it with Leawo Blu-ray Player, burn to Blu-ray/DVD, delete it, or open web page of downloaded video.
How to Set CleverGet Recorder
CleverGet Recorder has settled all default settings for you to record online video, but still allows you to adjust these settings. Click the three-dot icon on the top-right corner and then you could see a drop-down menu, which includes multiple options: Settings, User Guide, Support, FAQ, Review, Bug Report, Open Log Folder, About and Check for update. Click any option to get help you need.
Click the "Settings" option on the drop-down menu to enter "Settings" panel.
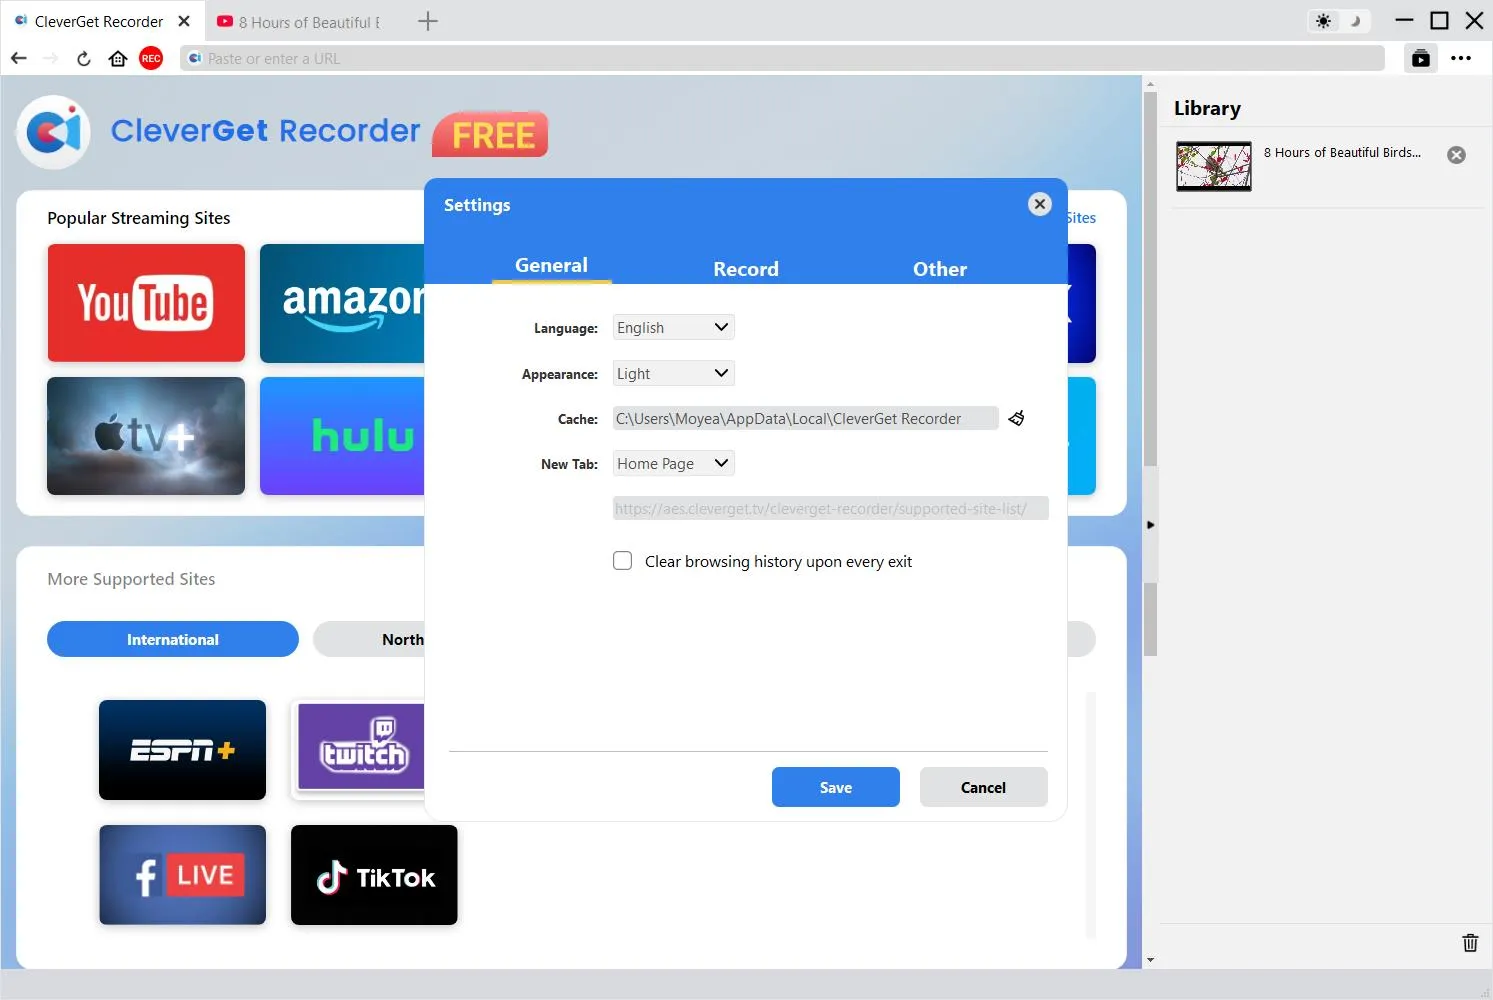
General Tab
On the "General" tab, you could set program UI language, appearance, max download tasks, download directories, etc. Check the details below:
- Language: Choose a UI language from English, Chinese (Simplified), Japanese, German, Korean and French.
- Appearance: Switch between light and dark modes. Or, change it directly by clicking "Light/Dark Mode" icon
 on the main interface.
- Cache: View program browser cache address, and clear cache in one click for quick issue fixing like program crash, program getting stuck, etc.
- New Tab: Choose to open a new tab to home page, default page or blank page.
- Clear browsing history upon every exit: Check to let clear browsing history every time CleverGet Recorder quits.
Record
On the "Record" panel, you could set anything related recording, including:
- Format: Choose to save recordings to MP4 or MKV file.
- Resolution: Set the default recording resolution, up to 4K available.
- Record speed: Choose the default record speed from 1X, 2X, 3X, 4X and 5X.
- Frame Rate: Choose the default frame rate for recording online video. Original is set by default and recommended.
- Audio sample rate: Choose the default audio sample rate for recording online video. Original is recommended.
- Audio channel: Set the default audio channel for recording online video. Original is recommended.
- Coding: Choose to encode recordings through Software accelerated coding (CPU coding) or hardware accelerated coding (GPU coding, if available).
- Save recording to: View and change recording save path.
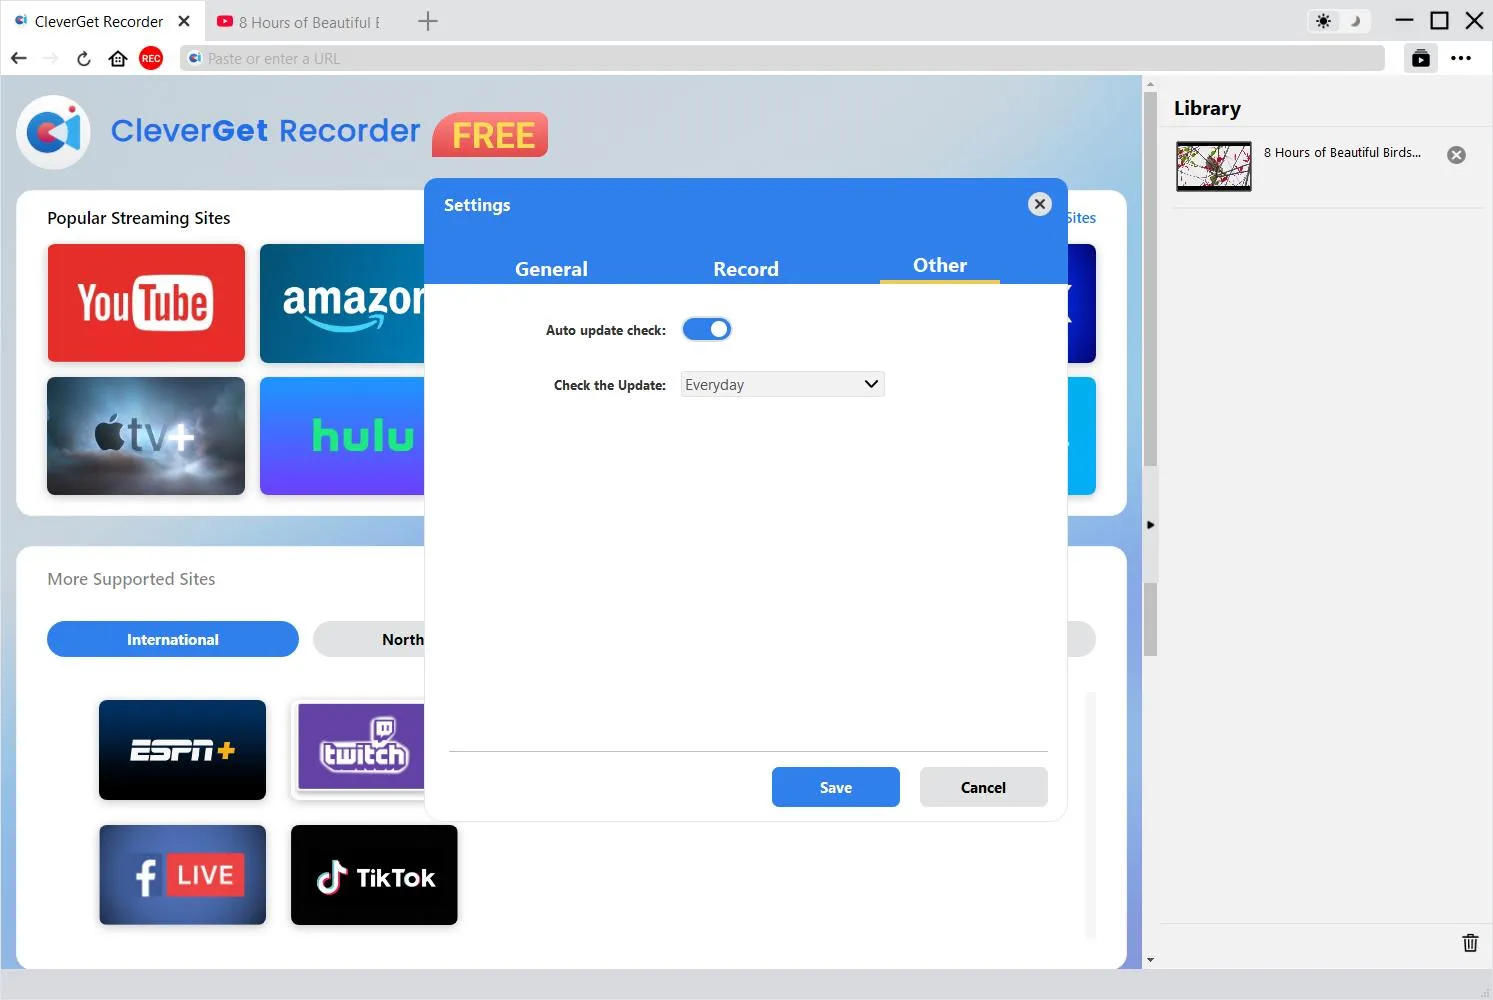
Other Tab
Open Other tab to enable/disable "Automatic Update" feature and set update check frequency on "Check the Update" drop-down panel.
After all settings are finished, remember to click "Save" button to save all changes.